The Ultimate Sublimation / Vinyl Alternative for Rhinestone Templates
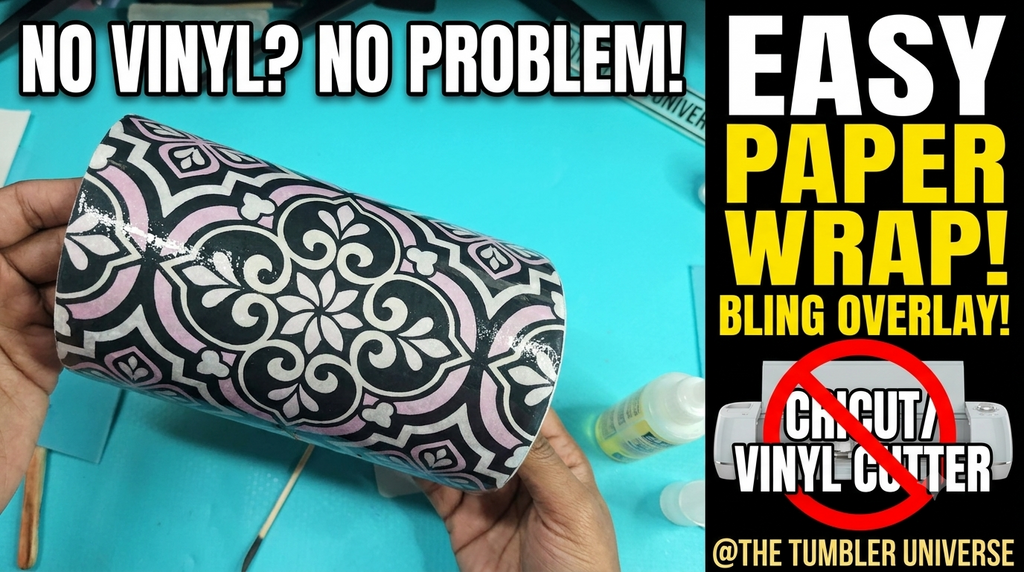
If you’ve ever wanted to create a stunning, full-wrap tumbler but don’t own a vinyl cutter or any specialty crafting equipment, I have great news for you! You don’t need any of it!
Before diving in, it is always a good idea to dry-fit your printed image on your project. This ensures you have the right fit before any adhesive is involved. Once you've confirmed the fit, use a double sided tape to stick the paper edge to the project.
Step 1: Adhesive
For this method, a reliable 2-part epoxy is the perfect choice for securing the paper base. Fundamentally, the epoxy will turn the paper in to a hard plastic. Dispense equal portions of your resin and hardener onto a non-stick mixing surface. Use a stir stick or tool of your choice to blend the two parts thoroughly until the mixture is completely uniform and clear. Because epoxy has a set runtime, you'll want to work efficiently from this point forward.
Step 2: Apply the Base Coat
Using your stir stick or preferred tool spread a thin layer of the mixed epoxy directly onto the bare metal surface of the tumbler. The key here is achieving an even, smooth distribution. The epoxy will soak through the sheet. This is normal.
Step 3: Lay Down and Smooth the Paper
Align your paper template directly onto the wet adhesive. Once it is in position, grab a squeegee. Pressing firmly from the center outward, smooth out the paper across the surface. This technique forces out any trapped air bubbles, spreads and smooths the epoxy and ensures a completely flat, secure bond.
Step 4: Secure the Seam Wrap
As you work your way around to the final overlap seam, lift the remaining unglued edge of the paper slightly. Apply epoxy right onto the remaining gap. Lay the flap over the top and use your squeegee once more to press the seam perfectly flat.
Step 5: Seal the whole thing
Once finished, apply a layer of epoxy on the entire paper to create a sand-able seal.
The Finale
Your image is ready for blinging.
-
Posted in
pro tips